Language
English
عربي
Tiếng Việt
русский
français
español
日本語
한글
Deutsch
हिन्दी
简体中文
繁體中文
Home
How To Use
Language
English
عربي
Tiếng Việt
русский
français
español
日本語
한글
Deutsch
हिन्दी
简体中文
繁體中文
Home
Detail
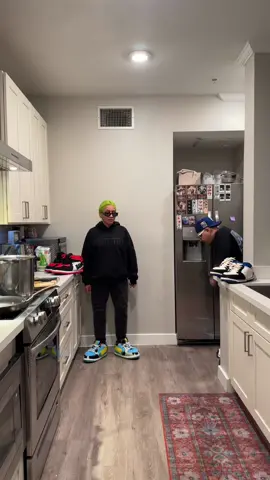
@diabloblo: иду за кофейком ☕️) как вы бы описали этот образ?🤿🤿🤿
⋆ ׂ ✿ Rika Sanchez🐱ྀི
Open In TikTok:
Region: US
Tuesday 01 October 2024 19:06:00 GMT
98299
9344
59
87
Music
Download
No Watermark .mp4 (
7.83MB
)
No Watermark(HD) .mp4 (
40.03MB
)
Watermark .mp4 (
0MB
)
Music .mp3
Comments
bluesex :
визуальный шум
2024-10-03 15:35:20
493
︎︎︎ :
она как куколка лол...😍💔
2024-10-03 20:57:40
341
ffr :
какая у вас фигурка🙏🙏🙏
2024-10-01 19:10:04
191
Вацок :
угадайте кто мой фаворит из всех блогеров?
2024-10-01 19:30:46
8
Харрикейнз🐾 :
как песня называется?
2024-11-14 10:21:39
0
ядерный кукурузник :
какая вы красивая💗
2024-10-01 22:44:49
4
🕊️Mrs.Clubs🕊️ :
вы самый мой комфорт в ТТ❤️❤️❤️
2024-11-28 08:12:36
2
To see more videos from user @diabloblo, please go to the Tikwm homepage.
Other Videos
Réponse à @arnaud13004 Je dis 2x "ordre sociaux" a la place de "ordre social", mais osef c'est pas le point.
Réponse à @o.djadja95 Répéter des mensonges ne les rends pas reels.
@Banned Goods Comfy Comfy Its A Party 🥳🕺 #fyp #viral #xybca #hbfamm
My most requested diy tutorial: How to build a picture ledge 🔨 Step 1: Buy supplies. You will need: 1x3 (this will attach to the wall) 1x6 (this will be the bottom of the shelf) 1x2 (this will be the front trim) Step 2: Cut the boards down to the length you need. You could have them cut them for you at the hardware store too! Step 3: Mark your studs on the 1x3. You could use a marker or blue tape. Step 4: Drill pock holes on the 1x3, make sure not to drill any holes were the studs are. Step 4: Attach the 1x3 to the 1x6 with pocket screws (and wood glue if you can!). A 1 1/4” pocket screw should work for this! I recommend doing a little sample/practice of drilling all the holes and attaching with screws if you can. Step 5: Screw the shelf onto the wall. You should already know where the studs are! I used 2 1/2” cabinet screws for this. Step 6: Nail on the front piece of trim. I used a battery powered nailer, but you could also do this by hand if you needed to. Step 7: Paint/Style! This is one of my all time favorite DIYs! I think it adds so much character to a space and is a great intermediate diy project. If you need recommendations for any tools, check out my storefront! Want to learn how to paint your bathroom vanity?? I just posted a tutorial for that as well on my page 🕺🏼 #that70sreno #diyphotoledge #affordablediy
Jajajaja etiqueta a tu mejor amiga 😂😂❤️ #des_gual #contenido #comedia #actuando #foryou
#MBH #coffee
About
Robot
Legal
Privacy Policy