@qa3w: نغير محتوى🥲#عشوايات #fyp #😔

𝒀 𝐒 𝐎 ¹¹🥷🏼
𝒀 𝐒 𝐎 ¹¹🥷🏼
Open In TikTok:
Region: SA
Friday 20 December 2024 15:39:58 GMT
235
40
5
16

Music

Download

Comments

6x1z
D7📿 :
يوهه يبو عبدالرحمن 👌✨
2024-12-20 15:52:46
2
el79w
احياناً MohAmad . :
يسوو 😵😵💯
2024-12-20 16:38:20
1
vj.xq0
Abu Abdulaziz :
ياسر التوووب 🤩
2024-12-20 16:13:13
1
4y5d
🤍 :
فزتت🤩
2024-12-20 16:09:00
1
ax_t
4 :
الافضل 🌹
2024-12-20 16:02:44
1
To see more videos from user @qa3w, please go to the Tikwm homepage.

Other Videos

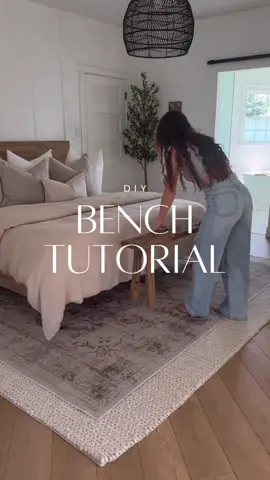
I’ve been getting a lot of questions lately about my narrow bench, and I’m excited to reshare the tutorial with you all. the best part is, you can make it yourself for just $50! what you’ll need—  2 x 8 x 8’ knotty pine  saw sand paper  chisel hammer wire brush  reciprocating saw (optional) wood glue screws matte polyurethane  stain of choice  steps—  STEP ONE: CUTTING THE WOOD Using my mitre saw I cut my lumbar in half to give me two 4’ pieces. Set one aside as it will be used for the top of the bench. Using a table saw or circular saw cut the second piece into… 4x — 17” x 2.5” pieces (legs) 2x — 4” x 2.5“ pieces (bottom support) 2x — 2.5” x 2.5” pieces (top support) using your mitre saw cut a 5 degree angle on all 4 legs and bottom support and top support pieces. STEP TWO: AGING THE WOOD  using my chisel, hammer, wired brush and reciprocating saw I distress the wood to my liking.  once I was happy with the distressing I sanded all the pieces with a 60 grit, then 80 grit and finished it off with 120 grit sandpaper. STEP THREE: BUILDING THE BENCH  I created two “A” shape using 1 top support, 1 bottom support and 2 legs. I secured the “A” frame with wood glued and screws.  next I took my A” shaped legs and attach them to the bottom of the bench using glue, and screws.  STEP FOUR: STAINING  first coat: simply white second coat: early American  next I took a handful of dirt and rubbed it all over the top of the bench. Why? I don’t know 😂 but it made the wood look even more distressed!  after the stain has cured for a day apply a coat of polyurethane.    follow me for more diys, home decor and styling inspo!  • • • #DIY #diyhomedecor  #diyprojects  #diyideas  #diybig  #diybench  #homedecor  #simplediy  #diytutorial  #diyfurniture  #diyhome  #bedroomdecor  #ilovediy  #masterbedroom #doityourselfproject #neutraldecor
I’ve been getting a lot of questions lately about my narrow bench, and I’m excited to reshare the tutorial with you all. the best part is, you can make it yourself for just $50! what you’ll need— 2 x 8 x 8’ knotty pine saw sand paper chisel hammer wire brush reciprocating saw (optional) wood glue screws matte polyurethane stain of choice steps— STEP ONE: CUTTING THE WOOD Using my mitre saw I cut my lumbar in half to give me two 4’ pieces. Set one aside as it will be used for the top of the bench. Using a table saw or circular saw cut the second piece into… 4x — 17” x 2.5” pieces (legs) 2x — 4” x 2.5“ pieces (bottom support) 2x — 2.5” x 2.5” pieces (top support) using your mitre saw cut a 5 degree angle on all 4 legs and bottom support and top support pieces. STEP TWO: AGING THE WOOD using my chisel, hammer, wired brush and reciprocating saw I distress the wood to my liking. once I was happy with the distressing I sanded all the pieces with a 60 grit, then 80 grit and finished it off with 120 grit sandpaper. STEP THREE: BUILDING THE BENCH I created two “A” shape using 1 top support, 1 bottom support and 2 legs. I secured the “A” frame with wood glued and screws. next I took my A” shaped legs and attach them to the bottom of the bench using glue, and screws. STEP FOUR: STAINING first coat: simply white second coat: early American next I took a handful of dirt and rubbed it all over the top of the bench. Why? I don’t know 😂 but it made the wood look even more distressed! after the stain has cured for a day apply a coat of polyurethane. follow me for more diys, home decor and styling inspo! • • • #DIY #diyhomedecor #diyprojects #diyideas #diybig #diybench #homedecor #simplediy #diytutorial #diyfurniture #diyhome #bedroomdecor #ilovediy #masterbedroom #doityourselfproject #neutraldecor

About